Align Vertices Horizontally and Vertically
Access:
Keyboard shortcut:
RMB > SHIFT + RMB > S-KEY > Y-KEY > “0” (Horizontal)
RMB > SHIFT + RMB > S-KEY > X-KEY > “0” (Vertical)
Mode:
UV/Image Editor
Panel:
None
Menu:
None
Description:
There is an easy way to align vertices both horizontally and vertically in the UV/
Image Editor that is very handy. The two or more vertices are selected and then,
for horizontal alignment, the Y-axis value is scaled to “0”.
Note:
I’m not sure which axis (X or Y) corresponds to the U and V axes in the
UV/Image Editor. I’ll call X-axis (horizontal axis) the U-axis, and Y-axis
(vertical axis) the V-axis. In any event, you use the keyboard keys “X”
for the horizontal axis and “Y” for the vertical axis.
To Use the Tool:
• Select the Vertices to be aligned.
• Press the S-KEY to scale followed by the Y-KEY to constrain the scaling
to the Y-axis and then type “0”.
• Press the S-KEY to scale followed by the X-KEY to constrain the scaling
to the X-axis and then type "0".
Let’s Try It:
Setup
• Open Blender and drag on the hatched area in the upper right-hand
corner
of the 3D Editor to create a second 3D Editor Frame.
• In the left-hand corner of the left-hand 3D Editor’s header LMB click on
the Editor Selection Icon and select UV/Image Editor.
• Hover the mouse cursor over the UV/Image Editor and press the F-KEY
to expand the UV grid.
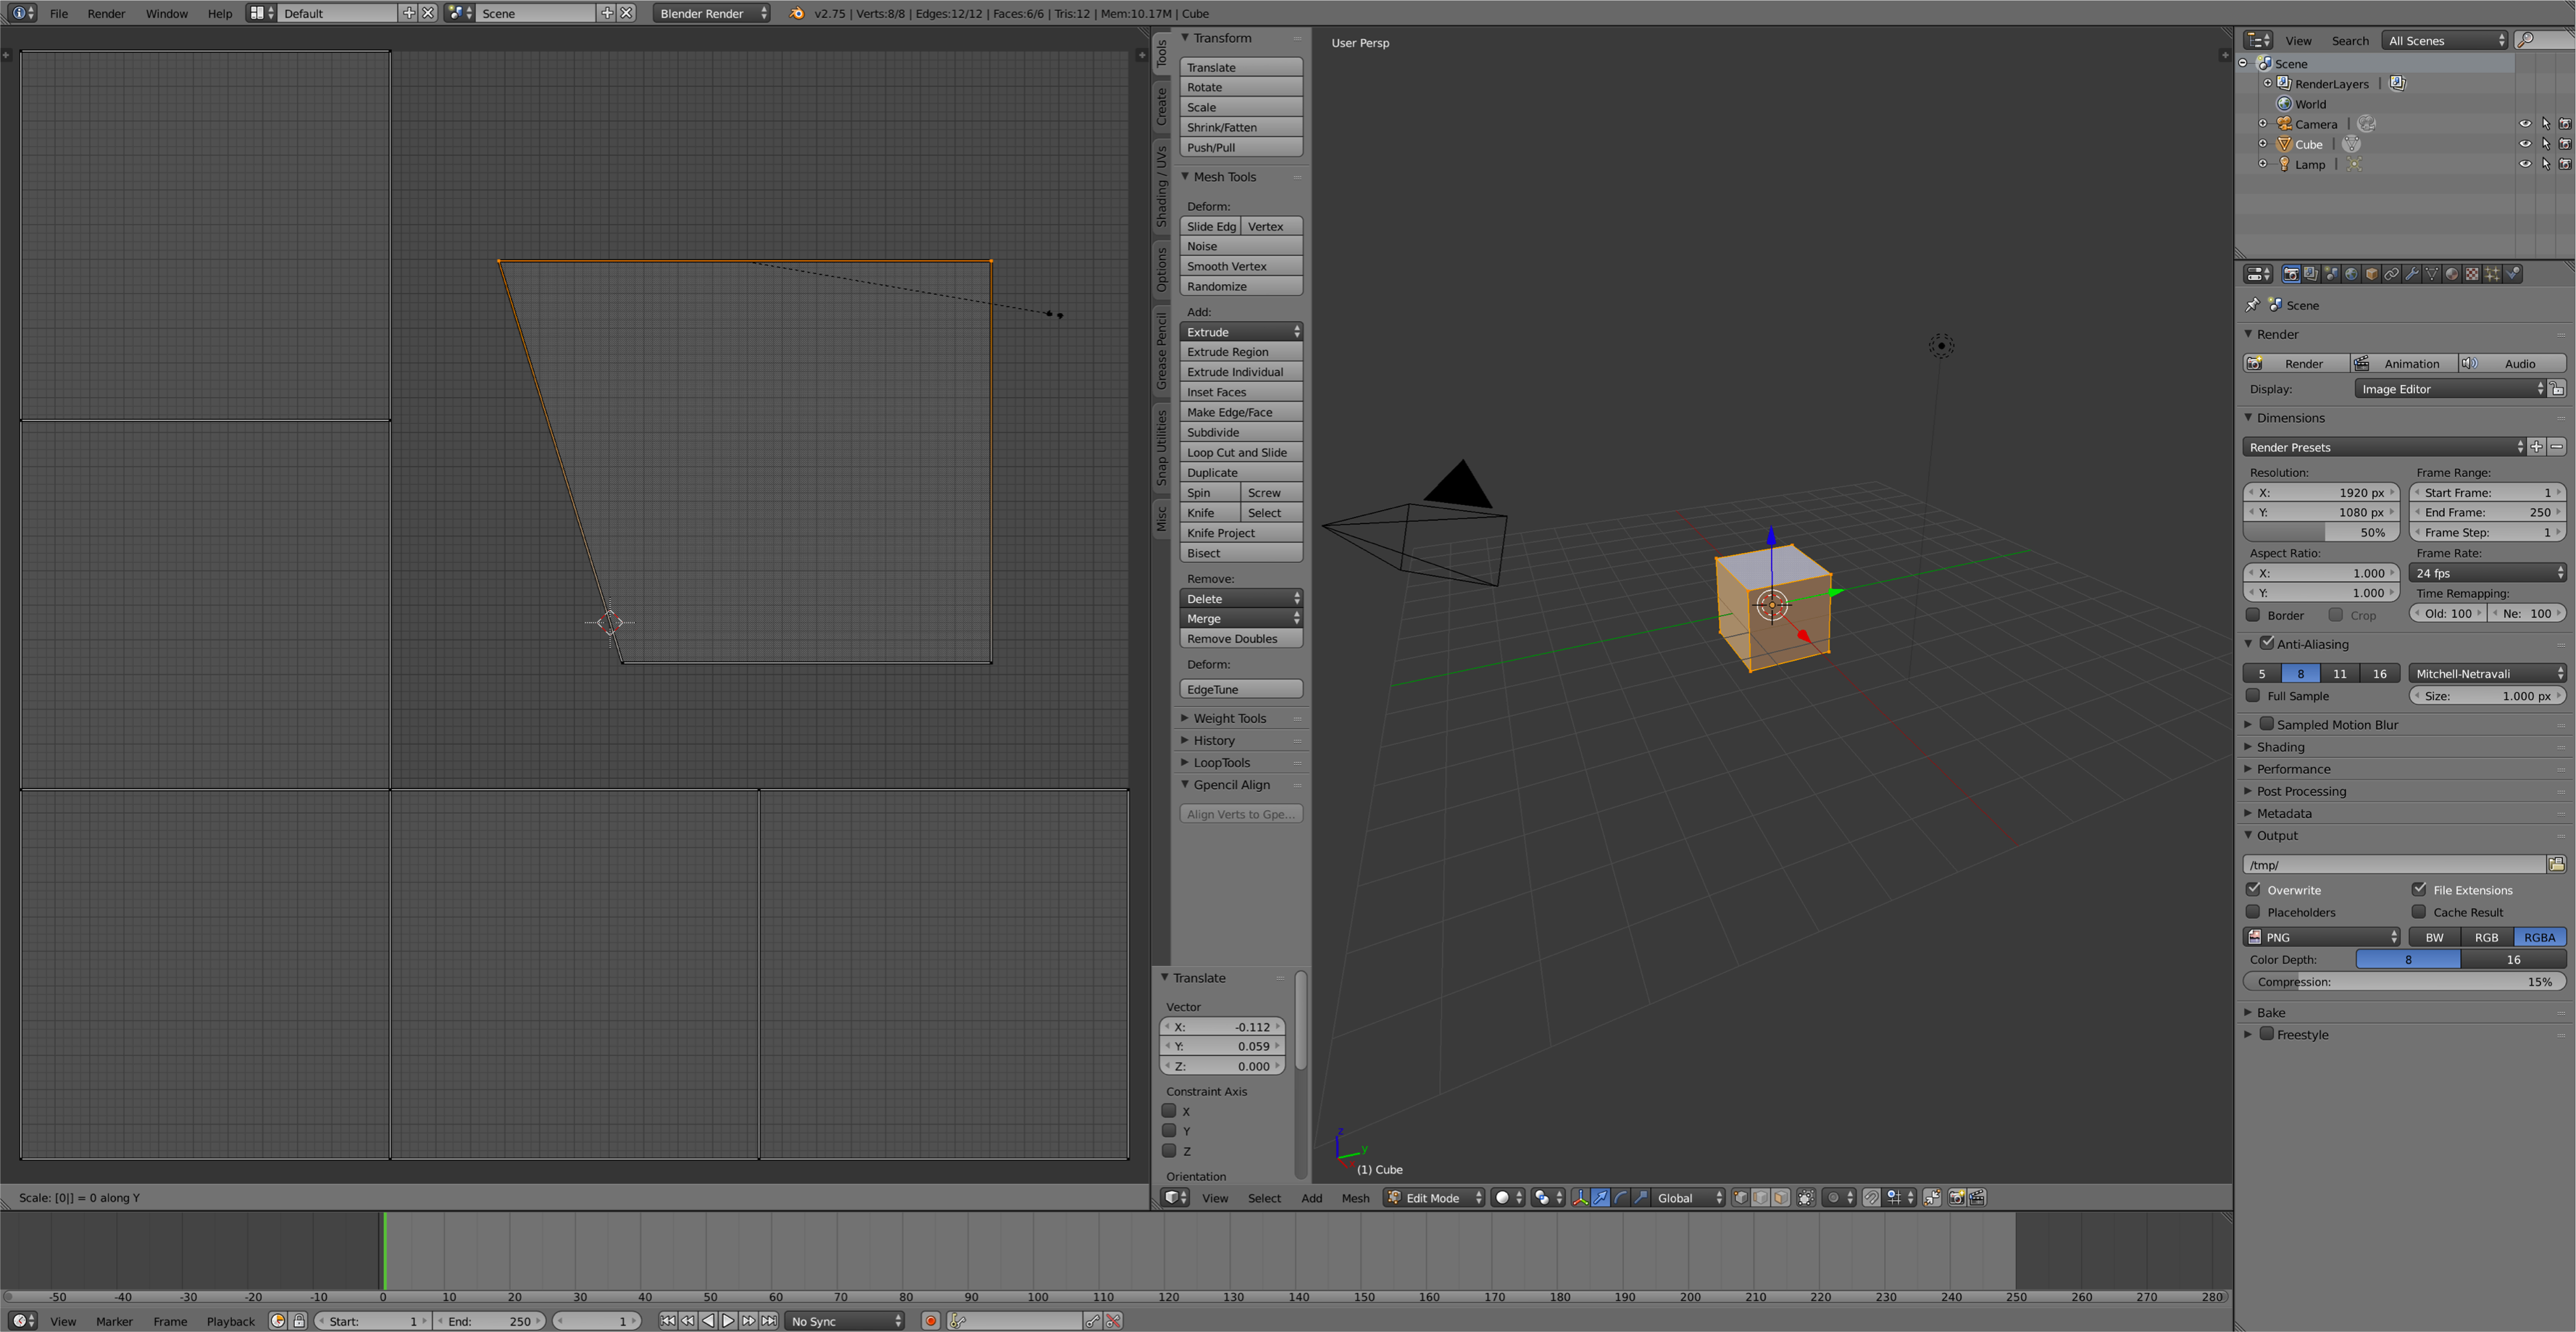
• In the 3D Editor Edit Mode select (A-KEY) the Default Cube.
• Press the U-KEY then select from the Popup Menu Smart UV Project
and LMB click OK.
• In the UV/Image Editor select a face and move (G-KEY and Drag)
it to distort it form the other faces.
• Select (RMB) a vertex and move (G-KEY and Drag)
it to isolate the face horizontally and vertically.
End of setup
• Select the Vertices to be aligned horizontally.
• Press the S-KEY to scale followed by the Y-KEY to constrain the scaling
to the Y-axis and then type “0”.
• Select the Vertices to be aligned vertically.
• Press the S-KEY to scale followed by the X-KEY to constrain the scaling
to the Y-axis and then type “0”.
Additional Comments:
This trick also works in the 3D Editor’s Edit Mode. Although I tend to use it in the
UV/Image Editor.
In addition, it can be used to flatten selected vertices.